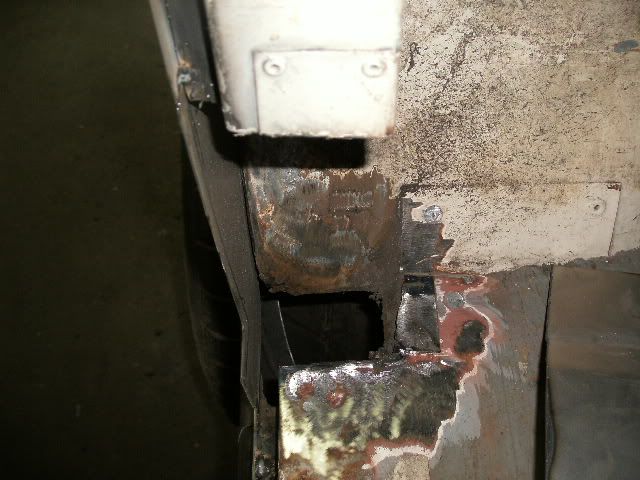
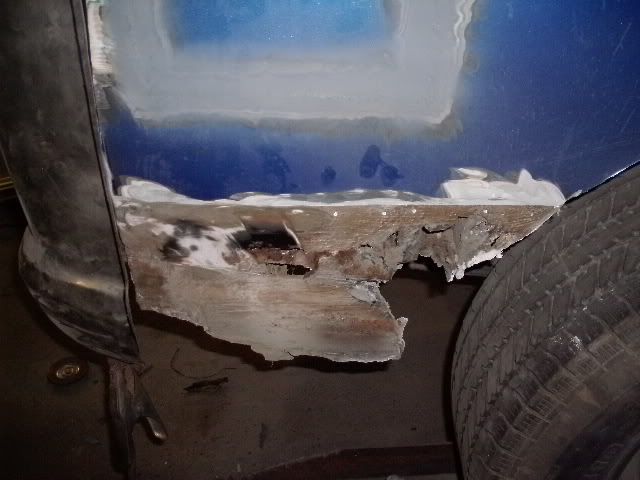
this is how thick some of the body filler was. surprised it held up for so long 
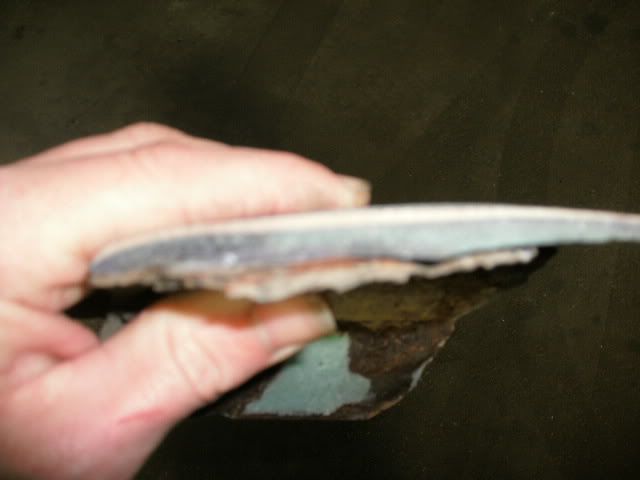
this is what was left of the original rocker
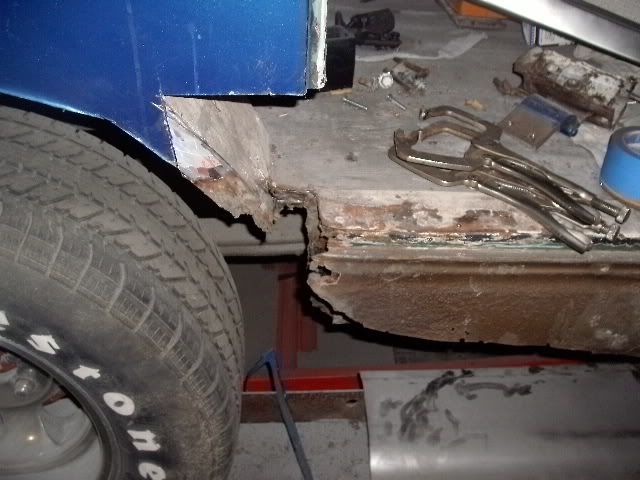
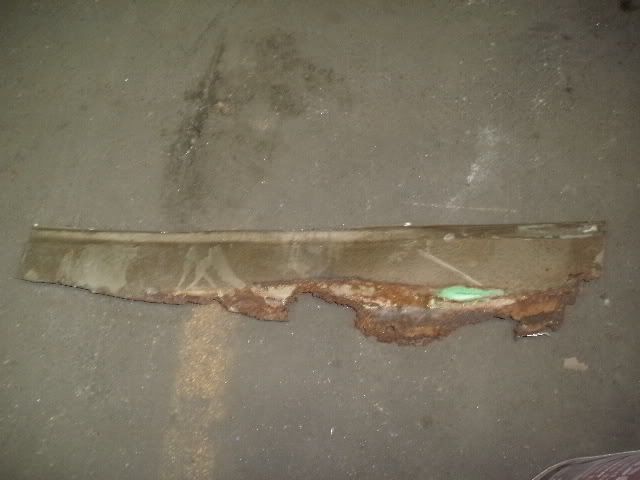
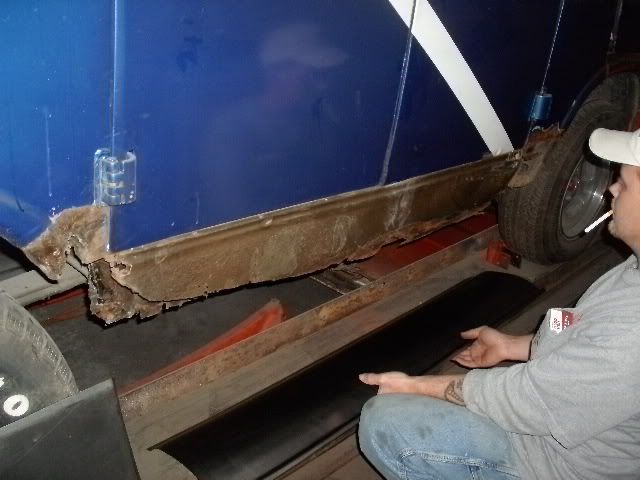
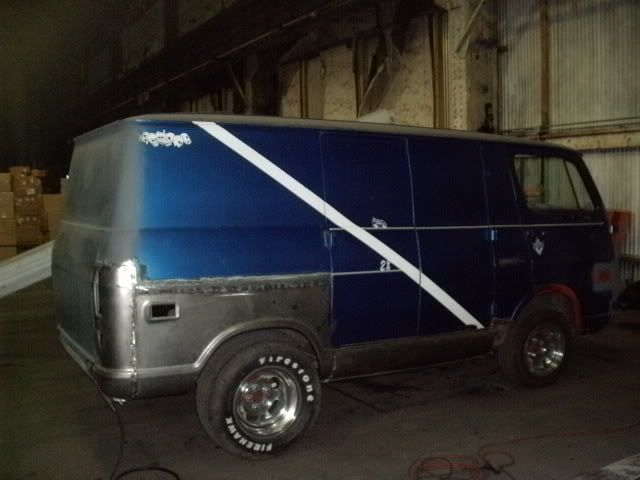
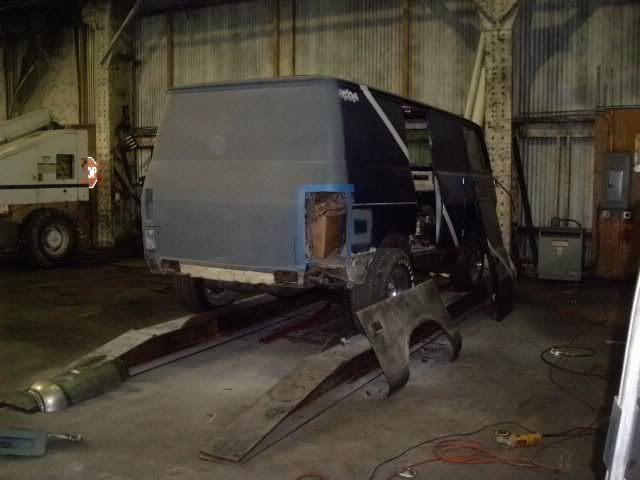
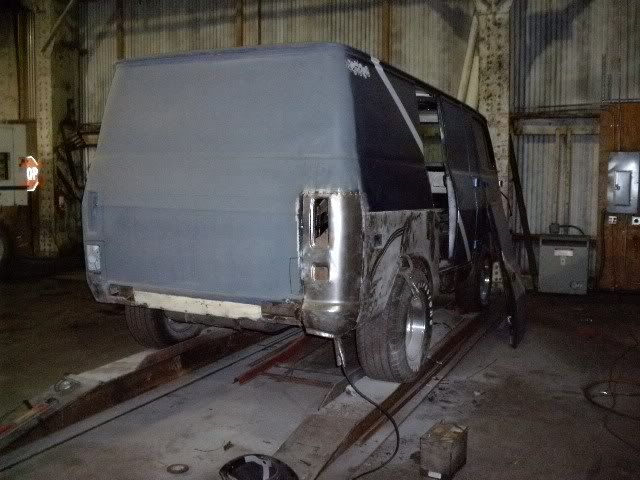
starting my 69 rebuild... (on a budget)
Collapse
X
-
Greg,good progress.........
a little tip on posting pictures.
Your codes need to be stand alone sentences.
You can add text between your pictures as long as there is a space between the sentence and the code.
Example
dealing with rust is a PITA
IMG]http://i104.photobucket.com/albums/m199/wookeesvan/bookofthebeast/hiddenrust3.jpg[/IMG
some thing rust belt vanners just have to deal with........
I left the [ ] before and after IMG in the code out so you can see what I am talking about.
Even with multiple pictures there needs to be a space between each code.
This is a small mistake allot of guys make when trying to post pictures
Keep up the great work.
I hope to get to meet you at the "Nationals" in ohio this summer...........
............WookeeLast edited by Wookee; 03-21-2011, 04:44 AM.Its a "van thing". A life style you have to live to understand!!!!
Comment
-
-
getting there slowly but surely. i'm really afraid that i'm going to screw this up. i measure and mark, but when it comes time to cut, ,,,,,,,,, i get real nervous. so it takes me a while to get things done. i just keep telling myself that it needs to be done, the van needs this. yea like it has feelings lol. anyway i figure that it has to be better than it was. so onwards with the panel replacement. and one day the van will see the light of day again. thanks for the encouragement it does help especially when you had a rough time getting something done. like the 8 hrs it took me to fit the corner in place. but then again anything worth while is not going to be easy. don't mind me, my brain isn't functioning properly at the moment. stress from work......... more coming soon
Comment
-
-
Amazing amount of work you are doing. At least you will know exactly what you have when finished.
I have often thought that leaving the backside of center rocker panels open would prevent any dirt, mud, or salt from getting trapped. Kind of like the rear corner lower rockers that have no backing. Are you going to fill the front corner dimples?
Also, are you planning to remove the windshield before painting? Primer seems to have a way of absorbing water and if you don't paint the area where the gasket sits, it will likely rust in a short period of time. It doesn't matter what color as long as you have that area covered in paint.
I am not being critical, just trying to help you avoid any headaches down the road. Again, your work is inspirational1965 Chevy Sportvan
"He who can reanimate the old and make it new is fit to be a teacher."
Comment
-
-
Originally posted by gregw98 View PostAre you going to fill the front corner dimples?
=============================================
Tim Henderson
Cincinnati, OH
1965 Chevy Sportvan "Good Twin"
1965 Chevy Sportvan Deluxe "Evil Twin"
Comment
-
-
Let me tell you that these type of projects ALWAYS take longer that the time you originalaly thought it would take.
Watching shows onTV where a team of guys bust out a job in a week is really unrealistic.
It take time to do this type of work right.....
Guys that bitch about how long a shop has a van getting it ready for paint really have No idea od the anount of time and work that goes into getting one of these old girls ready for paint........
Keep up the good work.
Remember it is only metal........
........WookeeIts a "van thing". A life style you have to live to understand!!!!
Comment
-
-
T/S
Originally posted by Optik View Postyou know, i think it would look neat yet subtle to eliminate the turn lamp in the grill by sectioning in a piece from a second grill on each side, then move the signal lights down to the dimple there. I think it would really clean up the front end, which, on a second gen, always looks a little cluttered to me with the all the lights down in the grille like that.
Comment
-
-
i was planning on removing the windshield before paint, i put it in to keep it from being damaged after i changed the nose. i have thought about removing the turn signals and repositioning them into the dimples, but for right now i'd like to get it back to original and solid, and modify it from there. have got a couple ideas rolling around in my head. i put in about 20 hrs putting cutting out the bad and fitting the new. i still have to puton the drivers side rear corner, then reattach the rear valance. but i was thinking of making a tailgate to gain access to tools and such that would be under the bench/bed area. i was also thinking of gullwing doors on both sides of the van, and since i have been seeing alot of these vans being done with suicide doors, i was thinking about how to have them pop out from the body and rotate forward(lambo doors). all of this is beyond my experience, but then again so is what i've gotten done so far. any tips?
Comment
-
-
this week shows little progress, but thats ok. I did finish welding on the panels, started grinding down the welds, got the drivers side rear corner tacked in place. ordered the panels for the drivers side, and a panel from a 67 pick-up to finish up the passenger side. got a couple pics, have to upload them from the camera, so those will be up later on today
Comment
-
Comment